Welding Cap Pattern Free
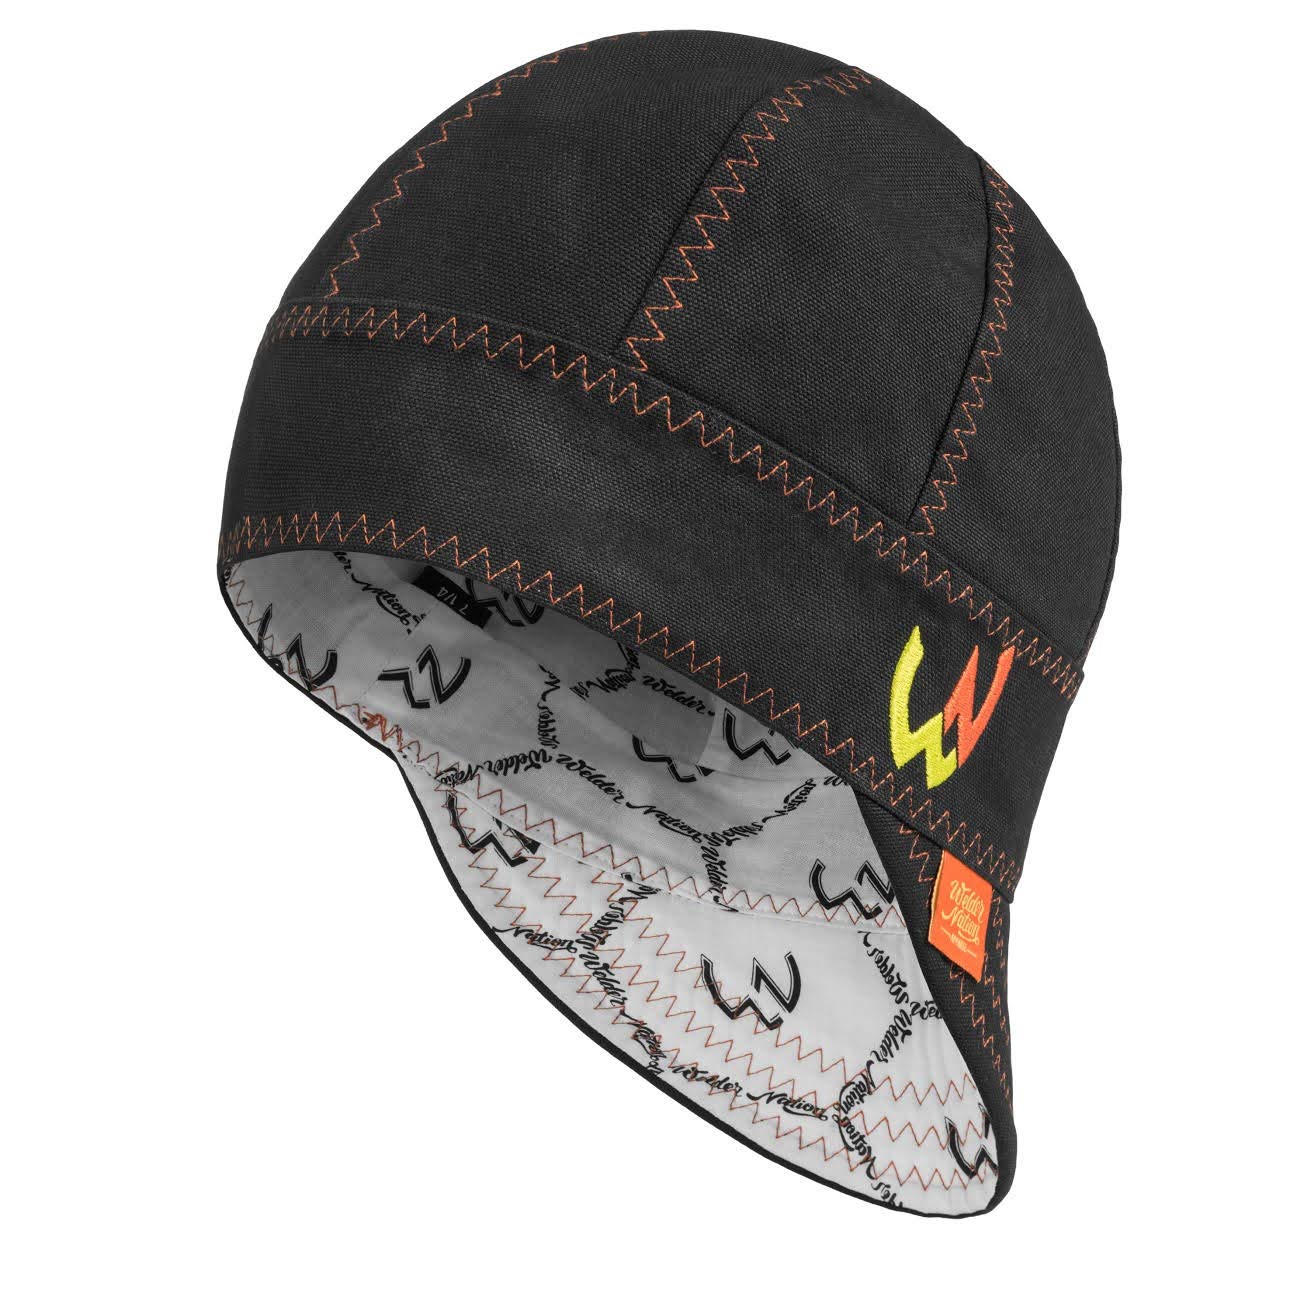
Welding Cap Pattern Free - Second to the last step: You have to follow the number of the pattern pieces carefully. Add 1 inch for seam allowance. Welding hat pattern and diy instructions available online for free. All the photos in the following tutorial are mine. Instructions are here (and here, if you can't access the patternreview site). Web lay these right sides together and pin along the edge. Cut the fabric of your welding cloth. Web free pattern for the cap “cosmo”. Place the inside and outside caps together right sides touching and sew around the whole thing leaving a couple inches open for turning. It has been 2 year journey in the making. Now, you have to cut the fabric in the shape of the pattern. Fold and sew the strip, then turn it right side out. And besides all that, i think welding hats are cute! Turn the cap outside right through the opening and do a stay stitch around the. The pattern for the cap is available for free in a4 format at the following download link. Second to the last step: Welcome to weldingweb.com, the ultimate source for welding information & knowledge sharing! Web taco, vet2be's good friend, is a welder, too. Web our welders cap stencil 4 panel / cyclist cap pattern 1/4 is the perfect template to help you create your own custom welding cap. Welcome to weldingweb.com, the ultimate source for welding information & knowledge sharing! Otherwise, it will not be perfect. Web locate the pieces that make up the side of the cap. Cut out the bill template. Web welding hat pattern and diy instructions available online for free. If you cut it according to the pattern. Web join date apr 2014 location illinois posts 3,309 post thanks / like likes (given) 1934 likes (received) 2363 dislikes (given) 200 dislikes (received) 6 Now connect the remaining front/back section to the open piece of the bowl. It has been 2 year journey in the making. Web npw do this again. It is comfortable to wear under the hard hat or welding hood even on those long 12 hour shifts. All the photos in the following tutorial are mine. If you cut it according to the pattern. Cut the fabric of your welding cloth. Web taco, vet2be's good friend, is a welder, too. The pattern for the cap is available for free in a4 format at the following download link. Web welding cap sewing patterns. Sew the tops of the pieces together (outer layer to outer layer, inner lining to inner lining). Add 1 inch for seam allowance. Welding hat pattern and diy instructions available online for free. Web the cap part of a weldering hat is made to stop the sparks from burning hair while the soft, short bill is turned around backwards to cover and protect the neck. Web welding cap sewing patterns. You will then do the exact same steps for the inside of cap. Whether you’re a professional welder or just enjoy diy projects,. I have created this pattern because my husband doesn’t like the traditional welding caps with the band or elastic across the forehead. Connect the other open side to the opposite side. Welding hat pattern and diy instructions available online for free. Web holy cow am i excited about this pattern!! Place the inside and outside caps together right sides touching. The pattern i used can be found here. Sew the tops of the pieces together (outer layer to outer layer, inner lining to inner lining). Cut the fabric of your welding cloth. The instructions are found here. Otherwise, it will not be perfect. You have to follow the number of the pattern pieces carefully. Whether you’re a professional welder or just enjoy diy projects, this pattern is a great resource for creating a comfortable and durable. His mom, sheepy, made him a cap and tried to use the pattern i used, but it was very difficult to follow. I have created this pattern. The pattern for the cap is available for free in a4 format at the following download link. Instructions are here (and here, if you can't access the patternreview site). Cut the fabric of your welding cloth. Web npw do this again for your inside cap. Web join date apr 2014 location illinois posts 3,309 post thanks / like likes (given). You have to follow the number of the pattern pieces carefully. Check the test square to make sure the pattern has been printed out in the correct size. And besides all that, i think welding hats are cute! Cut the fabric of your welding cloth. Fold and sew the strip, then turn it right side out. Web locate the pieces that make up the side of the cap. And besides all that, i think welding hats are cute! Sew the tops of the pieces together (outer layer to outer layer, inner lining to inner lining). Add 1 inch for seam allowance. Check the test square to make sure the pattern has been printed out in the correct size. Otherwise, it will not be perfect. Turn the cap outside right through the opening and do a stay stitch around the. Pin the pieces together to create the dome shape. Web free pattern for the cap “cosmo”. Web the cap part of a weldering hat is made to stop the sparks from burning hair while the soft, short bill is turned around backwards to cover and protect the neck. Now connect the remaining front/back section to the open piece of the bowl. Web welding hat pattern and diy instructions available online for free. Connect your front and back pieces as well, sewing just one side and leaving the rest open. Pattern for a reversible welding hat. Second to the last step: Cut the fabric of your welding cloth.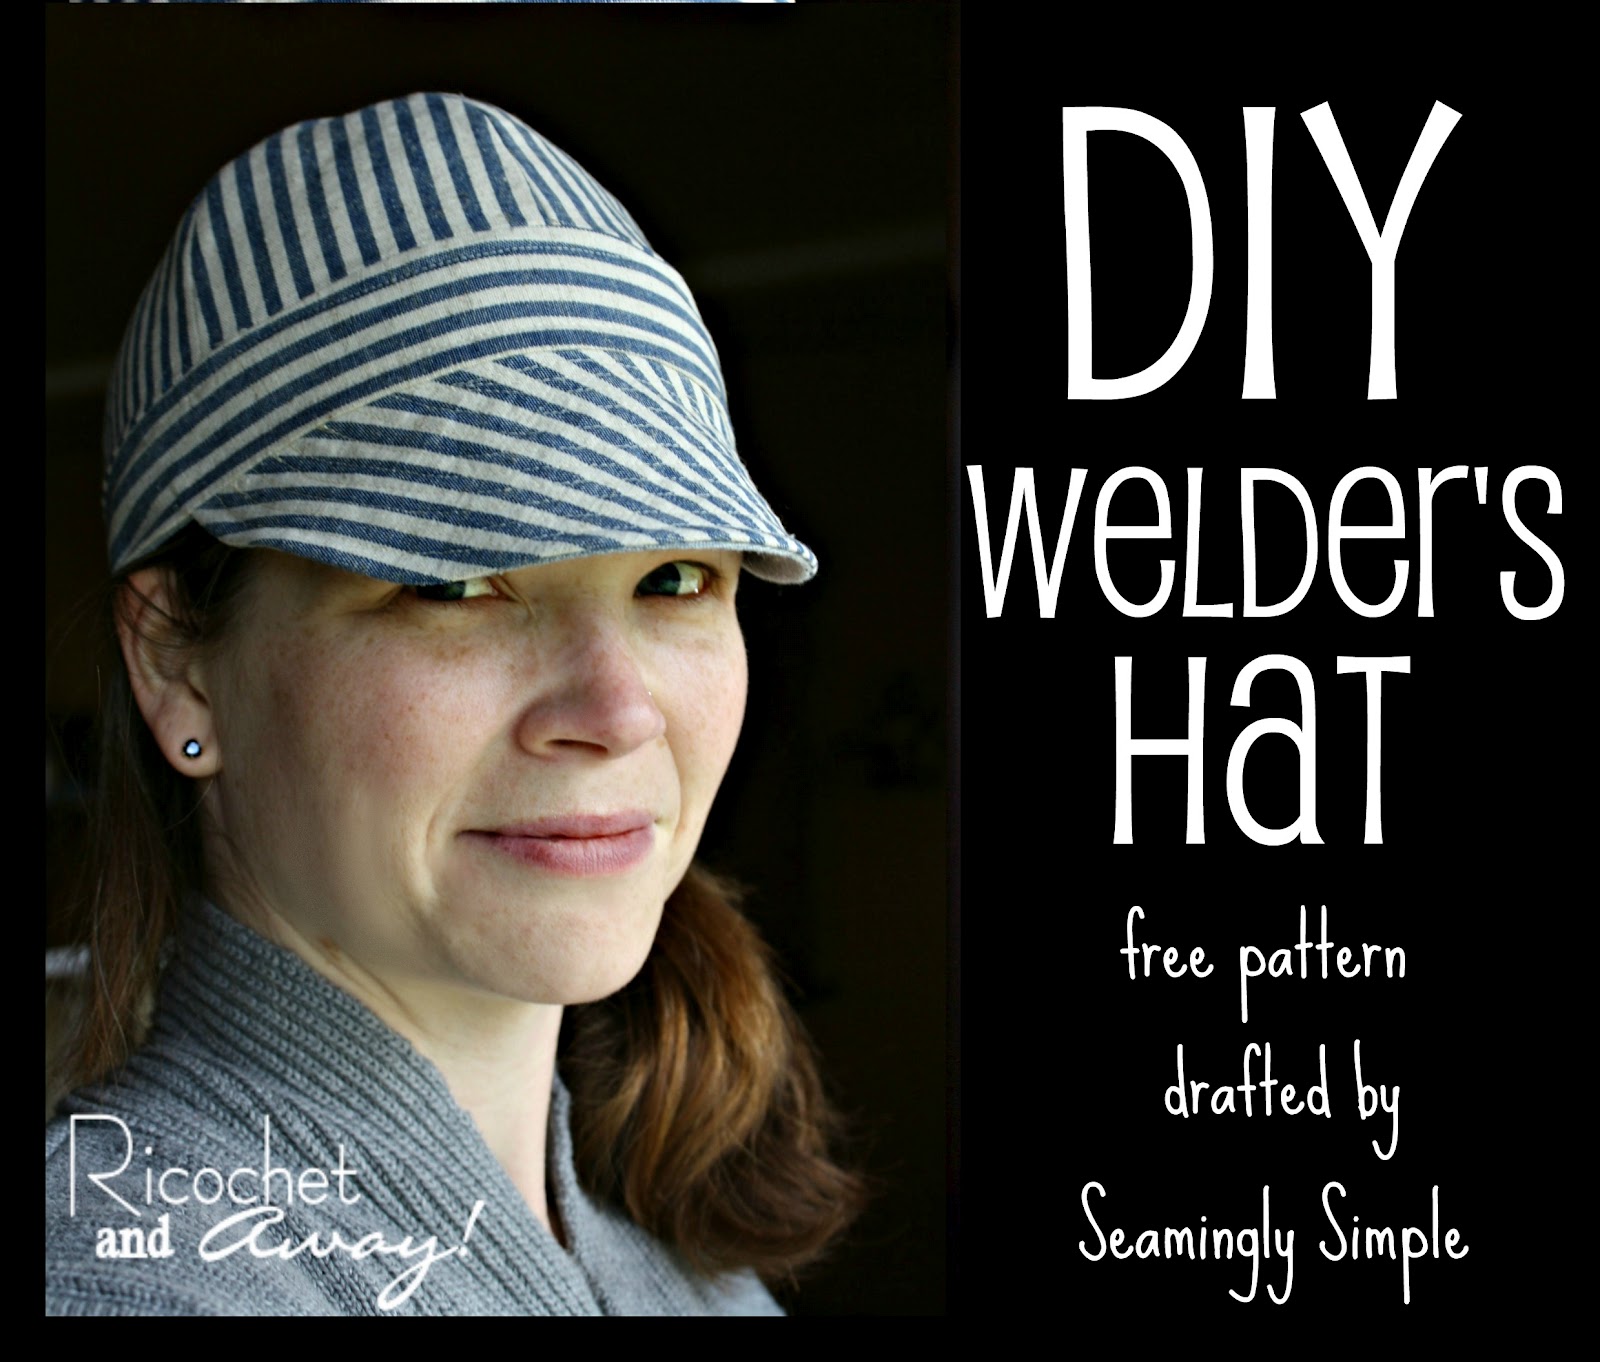
Ricochet and Away! Welder's Hat I found a free pattern!

Printable 6 Panel Welding Cap Pattern Free
Cap Pattern Welders Patterns For You

Welding Cap Sewing Pattern Free This Is The Instruction For

36+ Free Printable Welding Cap Pattern ThomasinaHaiden

Pdf Printable Printable 6 Panel Welding Cap Pattern Free

Welding cap pattern for Lace Cap Patterns, Sewing Patterns, Gnome

Pdf Printable Printable 6 Panel Welding Cap Pattern Free

Free Printable Welders Cap Pattern

Welding Cap Pattern Free Printable (With images) Welding cap pattern
Measure The Wearer’s Head Circumference Above The Ears.
Pattern Download (Pdf, Format A4) Make Sure You Print Out The Pattern Using The “Original Size” Setting.
All The Photos In The Following Tutorial Are Mine.
Web Npw Do This Again For Your Inside Cap.
Related Post: